I'll be taking a break from Blogging for a few weeks while we move house and while Bubble adjusts to her new school. We'll be back ASAP to share more learning adventures, see you then!


 I laid a couple of clay fish each on some wax paper so they wouldn't stick to the table while the girls worked on them.
 The decorations were put in heavy containers so the girls could fiddle around picking up the small pieces without it moving around to much.
 Bubble had a ball and decorated three fish all up. Her favourite decorations were the fake pearls and the mini split pins which she thought were tiny nails :-)

 Squeak spent a long time picking up her beads and pushing them into the clay, pulling them out again and pushing them back in again :-D

 For the base of our discovery board I used the reverse side of a large wooden puzzle that had lost some pieces.
 Using clear Liquid Nails (any strong glue would work, that was just what I had on hand) I attached as many of the petri dish bases to the board as I could fit.
 Some coloured buttons and the insides from a broken kaleidoscope toy (I knew I held onto this stuff for a reason :-D).
 Bubble examining the items in the discovery board.
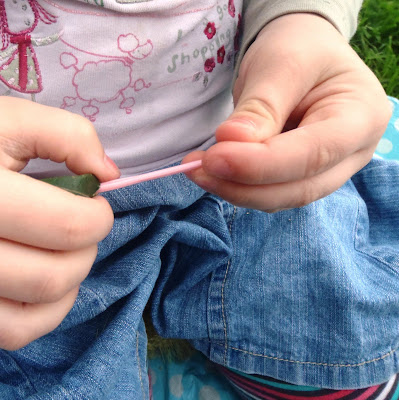
 I tied the embroidery thread to their needles so it wouldn't come loose while they made their necklaces.
 The threading was great exercise for fine motor development but I also loved watching the girls exploring the textures, shapes and colours of all of the natural things they found.


 Bubble's finished necklace. I tried to get a photo of Squeak's which had a flower on it but they all came out too blurry, she's too fast for me! :-D